
| 일 | 월 | 화 | 수 | 목 | 금 | 토 |
|---|---|---|---|---|---|---|
| 1 | 2 | 3 | ||||
| 4 | 5 | 6 | 7 | 8 | 9 | 10 |
| 11 | 12 | 13 | 14 | 15 | 16 | 17 |
| 18 | 19 | 20 | 21 | 22 | 23 | 24 |
| 25 | 26 | 27 | 28 | 29 | 30 | 31 |
- c3 초
- c++ 정규식
- CentOS7
- 백준
- semanage
- 정규식 컴파일
- python os
- snmp test
- c3 step graph
- snmp
- python subprocess
- gcc regex
- 정규식 문자열 출력
- centos pyhon 설치
- selinux port 등록
- c3 축 가리기
- grafana dashboard
- influxdb 설치
- c3 축 없애기
- regex_search
- telegraf
- InfluxDB
- python popen
- 정규식 활용
- subporcess path
- gcc 업데이트
- c3 second
- 1697
- linux시간으로 변경
- g++ 업데이트
- Today
- Total
리셋 되지 말자
[Jenkins] Jenkins GitLab 연동(7) Web hook 테스트 본문
GitLab Push 테스트
1. git push 실행
gitlab 프로젝트에서 클론은 받은 뒤에 파일을 추가한 뒤에, 빌드가 자동으로 되는지 테스트를 진행한다.
(not-to-be-reset.tistory.com/335?category=918010) 이 게시물에서 clone 받았던 프로젝트에서 진행한다.
- shell script 파일 추가
$ cat hello.sh
echo 'hello script'
'hello script' 문자열을 출력하는 'hello.sh' 파일을 추가한다.
- 디렉토리에 있는 파일 목록 확인
$ ls -al
total 20
drwxr-xr-x  3 ubuntu ubuntu 4096 Feb 25 11:55 .
drwxr-xr-x 14 ubuntu ubuntu 4096 Feb 25 11:55 ..
drwxr-xr-x  8 ubuntu ubuntu 4096 Feb 24 19:15 .git
-rw-r--r--  1 ubuntu ubuntu   15 Feb 24 19:15 README.md
-rw-r--r--  1 ubuntu ubuntu   20 Feb 25 11:55 hello.sh
이미 Push한 README.md 파일에 hello.sh 가 추가되었다.
- gitlab에 Push
# 추가된 hello.sh 파일 확인
$ git status
On branch master
Your branch is up to date with 'origin/master'.

Untracked files:
  (use "git add <file>..." to include in what will be committed)

        hello.sh

nothing added to commit but untracked files present (use "git add" to track)

# hello.sh 추가
$ git add hello.sh

# hello.sh 추가된것 확인
$ git status
On branch master
Your branch is up to date with 'origin/master'.

Changes to be committed:
  (use "git reset HEAD <file>..." to unstage)

        new file:   hello.sh

# git commit 실행
$ git commit -m "add hello script file"
[master c4f5564] add hello script file
 1 file changed, 1 insertion(+)
 create mode 100644 hello.sh

# git push 실행
$ git push
Username for 'http://113.198.137.110:23002': jenkins
Password for 'http://jenkins@113.198.137.110:23002':
Counting objects: 3, done.
Delta compression using up to 8 threads.
Compressing objects: 100% (2/2), done.
Writing objects: 100% (3/3), 299 bytes | 149.00 KiB/s, done.
Total 3 (delta 0), reused 0 (delta 0)
To http://113.198.137.110:23002/jenkins/jenkins-sample-app.git
   a435d82..c4f5564  master -> master
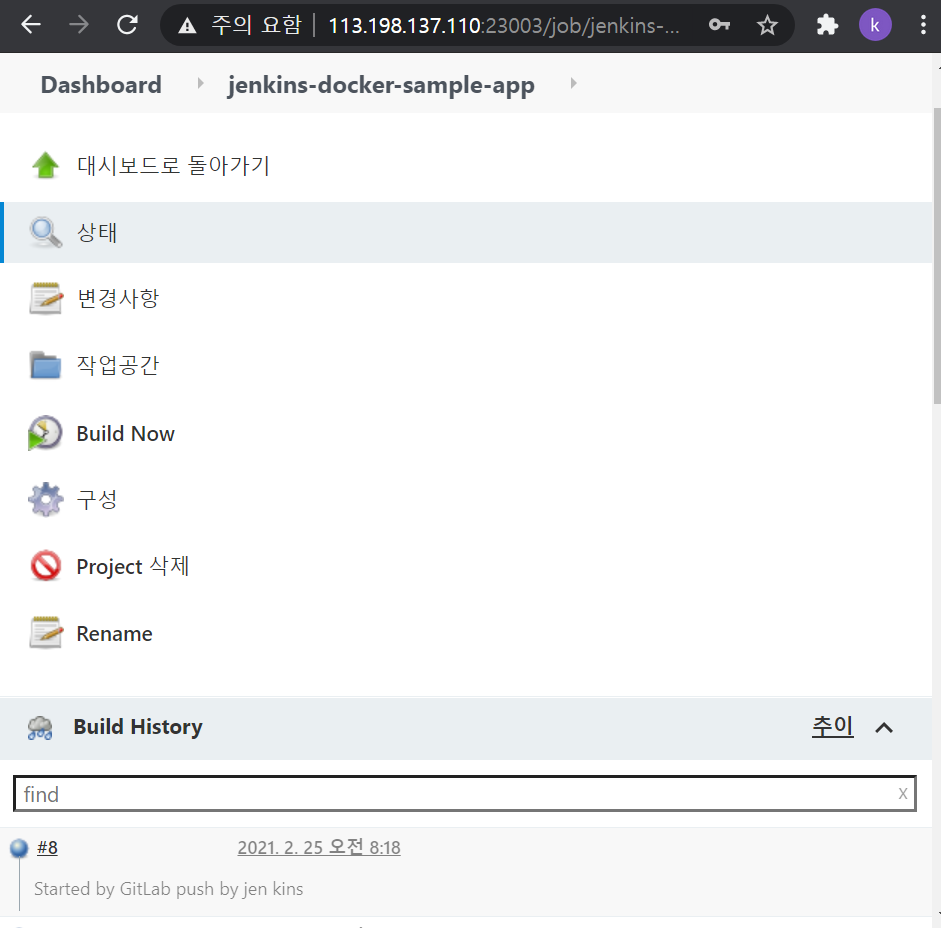
2. Jenkins 확인
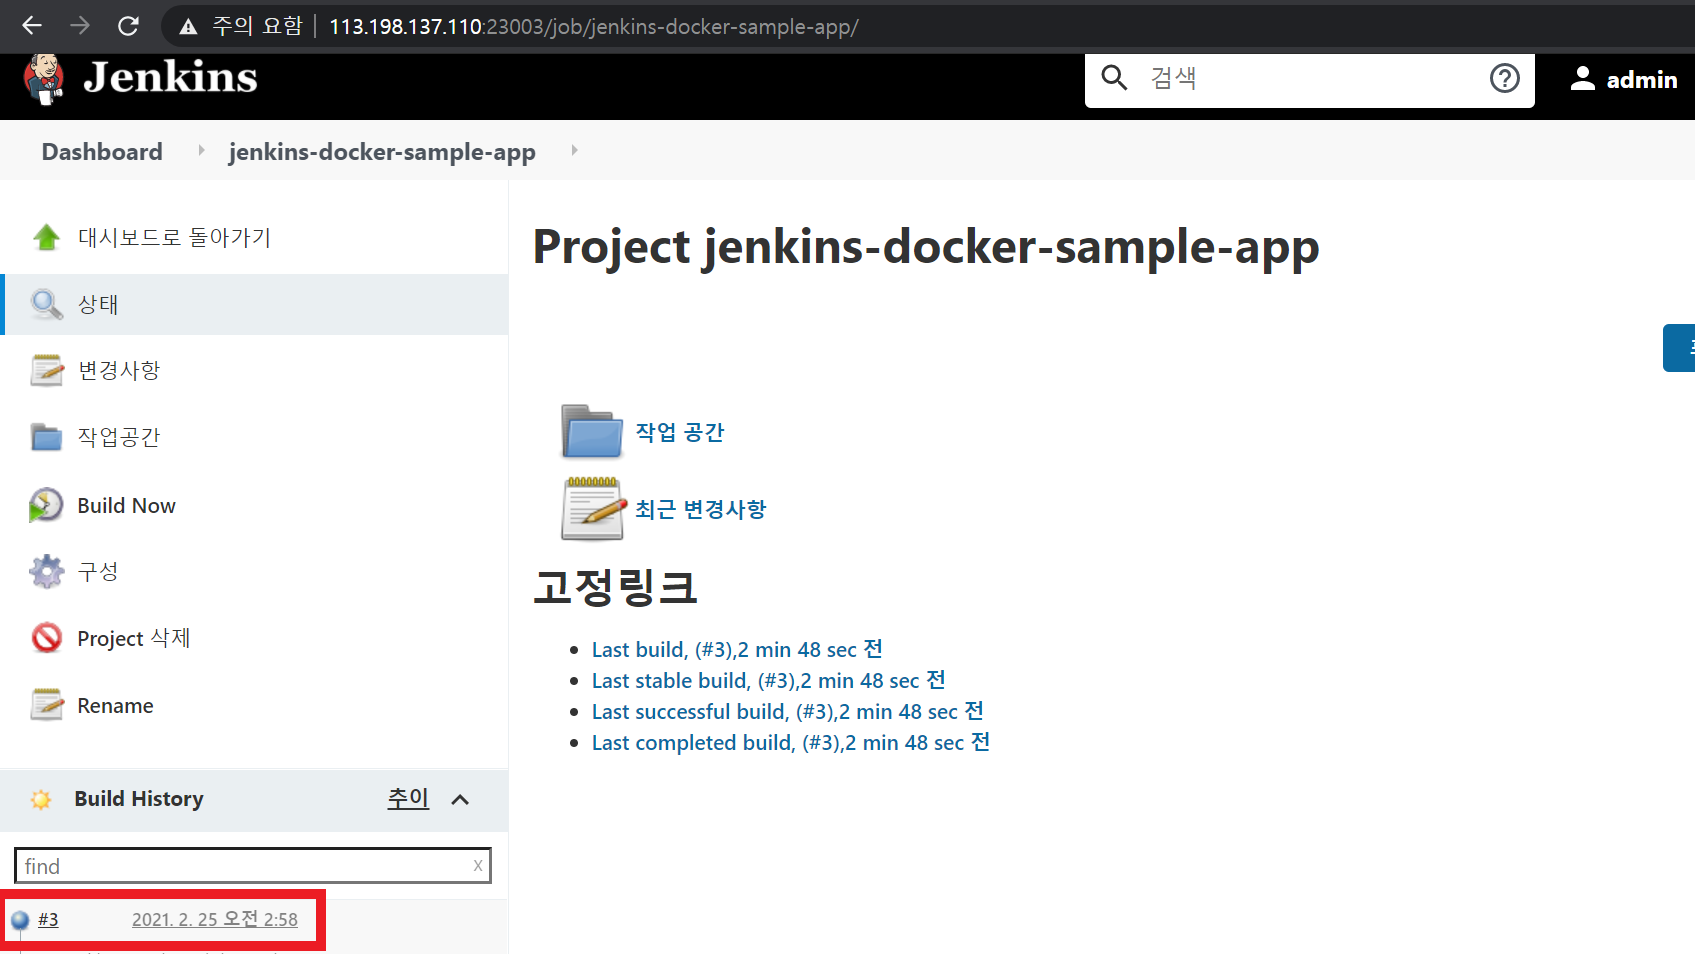
'Build History'에 빌드 작업이 수행된 것을 확인할 수 있다.
NGINX 실행 테스트
특정 스크립트 파일을 이용해 docker로 NGINX를 자동으로 띄우는 작업을 해본다.
1. 필요한 파일 작성 및 추가
GitLab에 아래의 파일들을 추가한다. 아직 git add, commit, push는 하지 않는다!
- default.conf
server {
    listen       9999;
    listen  [::]:9999;
    server_name  localhost;

    #charset koi8-r;
    #access_log  /var/log/nginx/host.access.log  main;

    location / {
        root   /usr/share/nginx/html;
        index  index.html index.htm;
    }

    #error_page  404              /404.html;

    # redirect server error pages to the static page /50x.html
    #
    error_page   500 502 503 504  /50x.html;
    location = /50x.html {
        root   /usr/share/nginx/html;
    }

    # proxy the PHP scripts to Apache listening on 127.0.0.1:80
    #
    #location ~ \.php$ {
    #    proxy_pass   http://127.0.0.1;
    #}

    # pass the PHP scripts to FastCGI server listening on 127.0.0.1:9000
    #
    #location ~ \.php$ {
    #    root           html;
    #    fastcgi_pass   127.0.0.1:9000;
    #    fastcgi_index  index.php;
    #    fastcgi_param  SCRIPT_FILENAME  /scripts$fastcgi_script_name;
    #    include        fastcgi_params;
    #}

    # deny access to .htaccess files, if Apache's document root
    # concurs with nginx's one
    #
    #location ~ /\.ht {
    #    deny  all;
    #}
}
두 번째, 세 번째 줄의 9999가 원래는 80으로 설정되어 있다. 나머지는 기본 nginx 이미지와 동일하다. 80에서 9999로 바꾸어 nginx가 9999포트를 기본포트로 설정하도록 한다.
- Dockerfile
FROM nginx:latest

COPY default.conf /etc/nginx/conf.d/default.conf
nginx 이미지는 기본으로 80포트를 사용한다. 다른 포트(여기서는 9999)를 사용하도록 하기 위해서 기존 nginx의 default.conf파일을 위에서 작성한 default.conf로 변경한다.
- nginx_service.sh
A=$(docker ps -aq -f "name=nginx")
echo $A
if [ -n "$A" ];
then
    echo "nginx is exist"
    docker stop $(docker ps -aq -f "name=nginx")
    docker rm $(docker ps -aq -f "name=nginx")
    docker rmi $(docker images -aq nginx)
    docker build -t nginx:port9999 .
    docker run -d -p 9999:9999 --name jenkins-nginx nginx:port9999
else
    echo "starting new nginx..."
    docker build -t nginx:port9999 .
    docker run -d -p 9999:9999 --name jenkins-nginx nginx:port9999
fi
Jenkins의 build 과정에서 사용할 스크립트 파일이다.
2. Jenkins build 수정
push 이벤트가 발생하면 nginx_service.sh 파일을 실행해서 nginx를 시작하도록 jenkins의 build 과정을 수정한다.
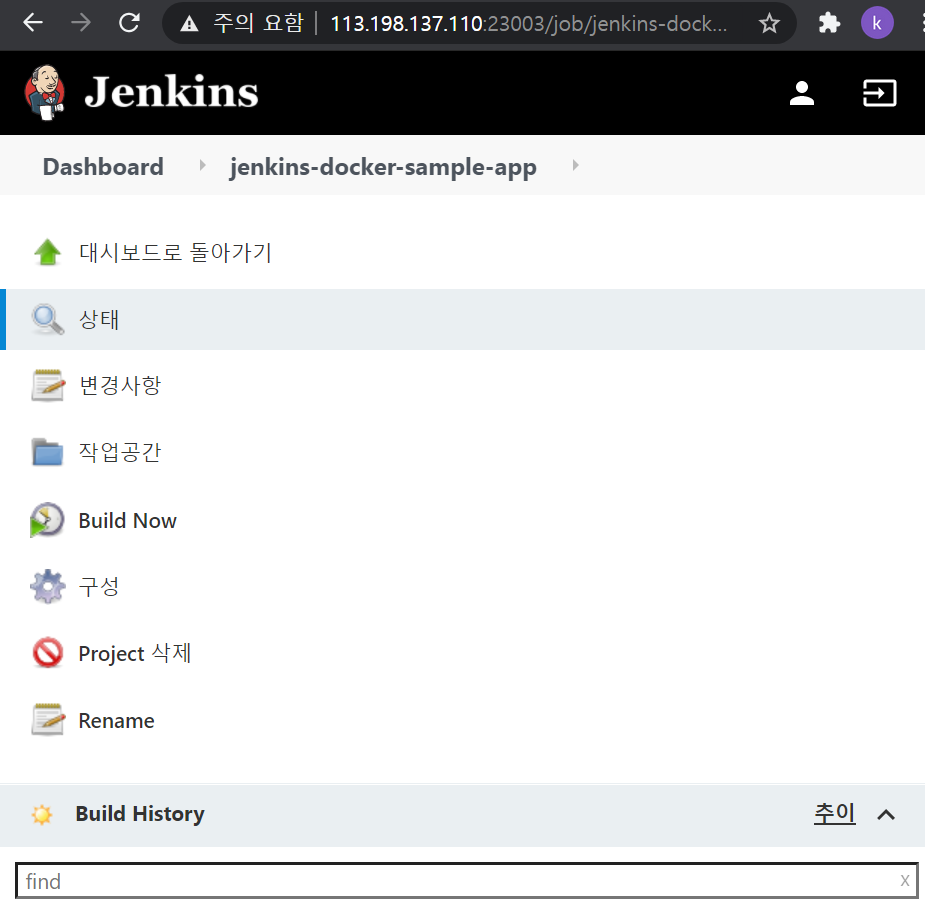
젠킨스의 'jenkins-docker-sample-app'으로 이동하여 '구성'(톱니바퀴)을 클릭한다.

'Build' 탭에서 'Add build step'을 클릭한다.

여러 항목 중에 'Execute shell'을 선택한다.
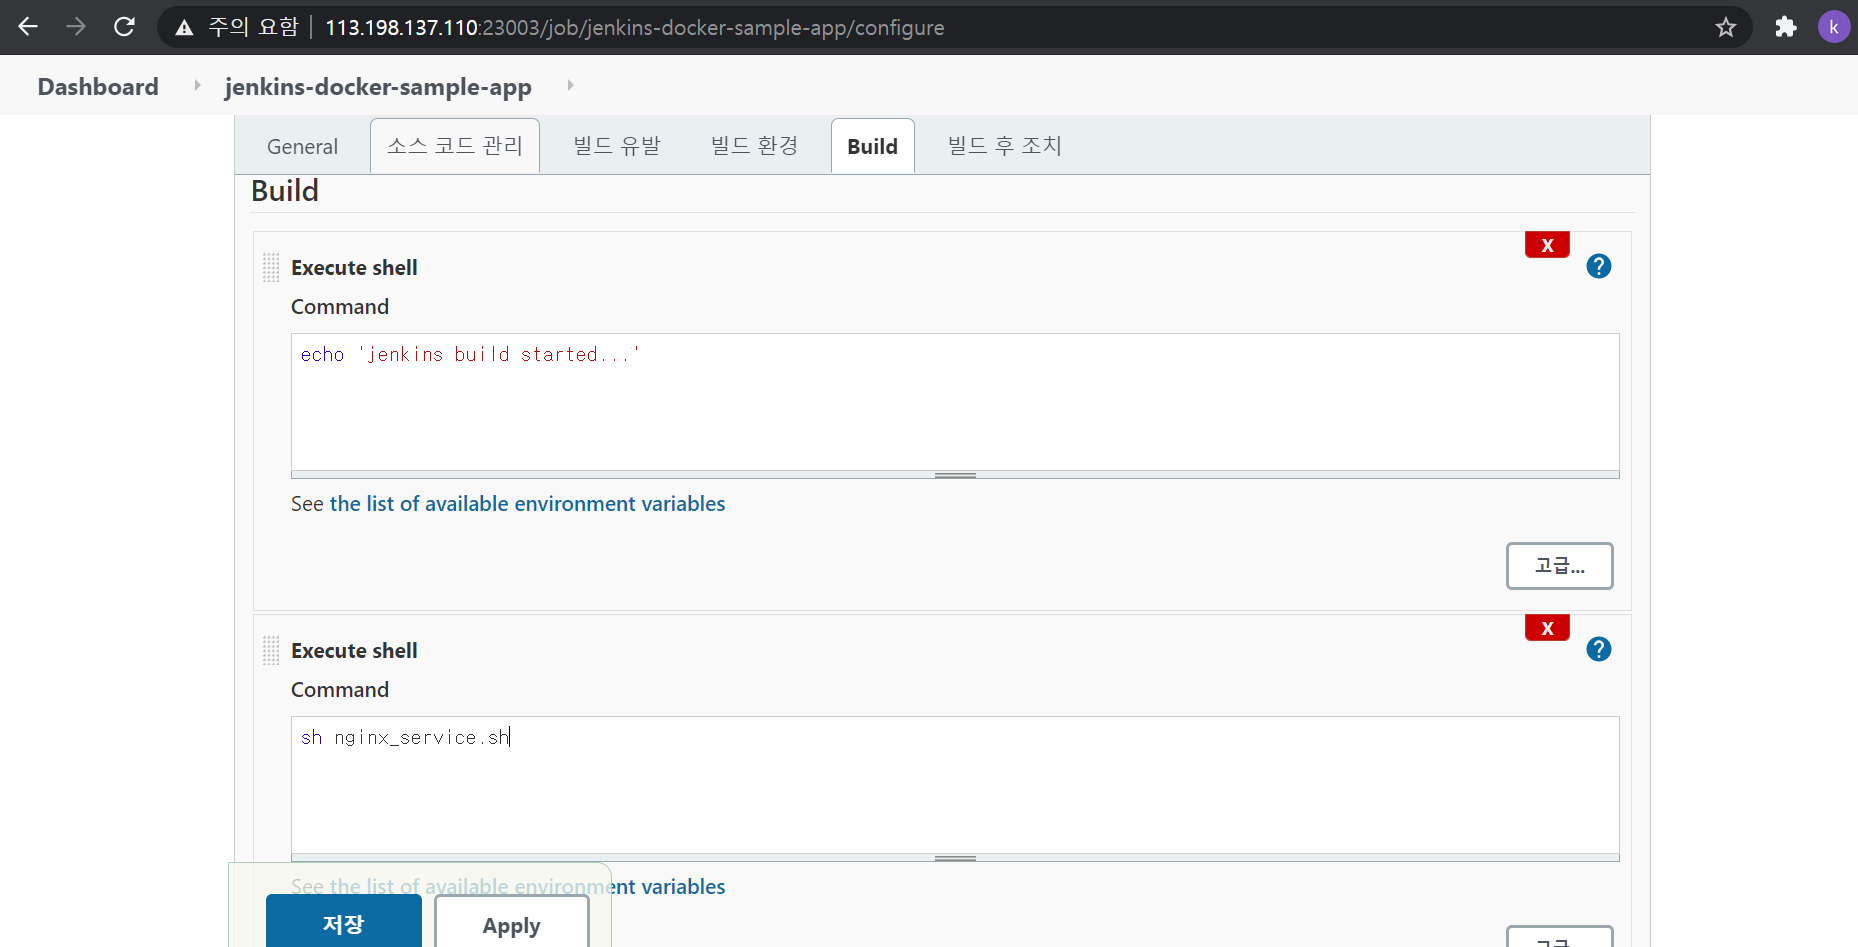
추가된 'Execute shell'에 'sh nginx_service.sh'를 적고 '저장'버튼을 눌러 저장한다.
3. GitLab에 변경사항 push
- git status 로 추가된 파일들 확인
$ git status
On branch master
Your branch is up to date with 'origin/master'.

Untracked files:
  (use "git add <file>..." to include in what will be committed)

        Dockerfile
        default.conf
        nginx_service.sh

nothing added to commit but untracked files present (use "git add" to track)
- git add 로 파일 추가
$ git add Dockerfile default.conf nginx_service.sh
- git commit 으로 commit 진행
$ git commit -m "add Dockerfile default.conf nginx_service.sh"
[master d4c1130] add Dockerfile default.conf nginx_service.sh
 3 files changed, 63 insertions(+)
 create mode 100644 Dockerfile
 create mode 100644 default.conf
 create mode 100644 nginx_service.sh
- git push 진행
$ git push
Username for 'http://113.198.137.110:23002': jenkins
Password for 'http://jenkins@113.198.137.110:23002':
Counting objects: 5, done.
Delta compression using up to 8 threads.
Compressing objects: 100% (5/5), done.
Writing objects: 100% (5/5), 1.09 KiB | 1.09 MiB/s, done.
Total 5 (delta 0), reused 0 (delta 0)
To http://113.198.137.110:23002/jenkins/jenkins-sample-app.git
   c4f5564..d4c1130  master -> master
- Jenkins에서 build 작업 확인

- Error 확인

빨갛게 표시되면서 빌드가 실패했다고 표시된다.
- Error 로그
[jenkins-docker-sample-app] $ /bin/sh -xe /tmp/jenkins6972193908820648068.sh
+ echo jenkins build started...
jenkins build started...
[jenkins-docker-sample-app] $ /bin/sh -xe /tmp/jenkins7345226614781320533.sh
+ sh nginx_service.sh
Got permission denied while trying to connect to the Docker daemon socket at unix:///var/run/docker.sock: Get http://%2Fvar%2Frun%2Fdocker.sock/v1.38/containers/json?all=1&filters=%7B%22name%22%3A%7B%22nginx%22%3Atrue%7D%7D: dial unix /var/run/docker.sock: connect: permission denied
대충 CentOS 7의 '/var/run/docker.sock에 대한 실행 권한이 없어서 Permission이 denied 되었다.' 라는 내용의 에러다.
이러한 경우, Jenkins 설치 후 docker를 바이너리로 설치하는 과정에서 호스트의 docker 그룹의 아이디를 알아낸 뒤에 그 르룹 아이디와 같은 docker 그룹을 jenkins 컨테이너내에서 생성했던 것을 상기해야 한다.
(https://not-to-be-reset.tistory.com/333 의 마지막 부분)
이때 컨테이너 종료 후에, jenkins 컨테이너를 재시작 해주어야 한다.
결론 : Jenkins 컨테이너를 재시작 해준다.
$ docker restart jenkins
- README.md 또는 hello.sh 파일 내용 바꿔서 다시 git add, commit, push
$ cat README.md
hello jenkins! 8
$ git status
On branch master
Your branch is up to date with 'origin/master'.

Changes not staged for commit:
  (use "git add <file>..." to update what will be committed)
  (use "git checkout -- <file>..." to discard changes in working directory)

        modified:   README.md

no changes added to commit (use "git add" and/or "git commit -a")
$ git add README.md
$ git commit -m "updat
e README 8"
[master f6db6eb] update README 8
 1 file changed, 1 insertion(+), 1 deletion(-)
git push
Username for 'http://113.198.137.110:23002': jenkins
Password for 'http://jenkins@113.198.137.110:23002':
Counting objects: 3, done.
Delta compression using up to 8 threads.
Compressing objects: 100% (2/2), done.
Writing objects: 100% (3/3), 278 bytes | 278.00 KiB/s, done.
Total 3 (delta 1), reused 0 (delta 0)
To http://113.198.137.110:23002/jenkins/jenkins-sample-app.git
   bf6c6df..f6db6eb  master -> master
- Jenkins 및 GitLab 확인

GitLab의 README.md가 수정되었다.
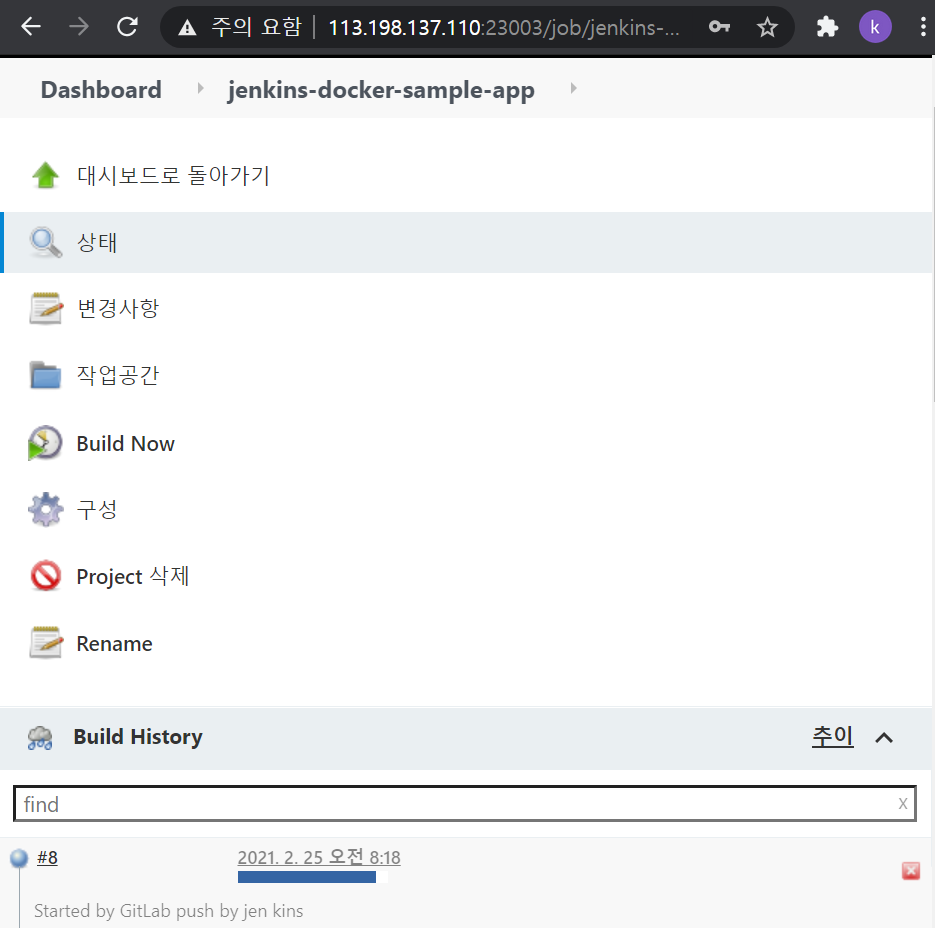
#8 빌드 작업이 수행중이다.
#8 작업이 완료된 것을 확인할 수 있다. 파란공 모양을 클릭해서 콘솔 창을 확인한다.
Step 1/2 : FROM nginx:latest
latest: Pulling from library/nginx
45b42c59be33: Pulling fs layer
8acc495f1d91: Pulling fs layer
ec3bd7de90d7: Pulling fs layer
19e2441aeeab: Pulling fs layer
f5a38c5f8d4e: Pulling fs layer
83500d851118: Pulling fs layer
19e2441aeeab: Waiting
f5a38c5f8d4e: Waiting
83500d851118: Waiting
ec3bd7de90d7: Verifying Checksum
ec3bd7de90d7: Download complete
19e2441aeeab: Verifying Checksum
19e2441aeeab: Download complete
8acc495f1d91: Verifying Checksum
8acc495f1d91: Download complete
45b42c59be33: Verifying Checksum
45b42c59be33: Download complete
83500d851118: Verifying Checksum
83500d851118: Download complete
f5a38c5f8d4e: Verifying Checksum
f5a38c5f8d4e: Download complete
45b42c59be33: Pull complete
8acc495f1d91: Pull complete
ec3bd7de90d7: Pull complete
19e2441aeeab: Pull complete
f5a38c5f8d4e: Pull complete
83500d851118: Pull complete
Digest: sha256:f3693fe50d5b1df1ecd315d54813a77afd56b0245a404055a946574deb6b34fc
Status: Downloaded newer image for nginx:latest
 ---> 35c43ace9216
Step 2/2 : COPY default.conf /etc/nginx/conf.d/default.conf
 ---> 365f00be8844
Successfully built 365f00be8844
Successfully tagged nginx:port9999
94e6cd40071f0ed556803c650e361439dc0c075ff1c7f58558488d891094585a
Finished: SUCCESS
sh 스크립트 파일 내용대로 작업이 수행되었다. 이제 nginx의 외부 포트였던 9999 포트로 접속시 nginx 페이지가 표시되면 성공이다.
- 9999 포트로 접속

공유기를 통해 원격 접속을 하기위해 23004포트를 9999포트로 포트포워딩을 해놓았다.
작업 컴퓨터에서 23004 포트 접속 -> CentOS 7 9999포트 -> Nginx 9999 포트
완성
간단하게(?) GitLab과 Jenkins를 이용한 CI / CD 과정을 배포까지 구현해 보았다. 실제 서비스에서는 위처럼 사용하지는 않겠지만, 이를 기반으로 우아한 빌드, 우아한 테스트, 우아한 배달, 우아한 배포 과정까지 발전했으면 한다. (내 스스로 에게도....)
'CI CD' 카테고리의 다른 글
| [Fabric] Fabric 튜토리얼 (0) | 2021.03.11 |
|---|---|
| [Jenkins] Jenkins - docker-compose 사용하기(1) (0) | 2021.03.04 |
| [Jenkins] Jenkins GitLab 연동(6) Web hook 설정 (0) | 2021.02.25 |
| [Jenkins] Jenkins GitLab 연동(5) Jenkins 설정 및 빌드 테스트 (0) | 2021.02.24 |
| [Jenkins] Jenkins GitLab 연동(4) Jenkins와 GitLab 연동-2 (0) | 2021.02.24 |


